Thursday, March 31, 2011

closets in progress

Wow, what seemed like an o.k. space just outside of the master bath, turns out to be really narrow after the closets are installed. Unfortunately, we need the storage space and will have to deal with it. Below is a shot of the closet that is in the Master bedroom, it looks bigger then it really is. The doors will be painted the same color as the walls, and some very slender and indiscreet handles have been purchased in a brushed nickle.
Below is Olivia's closet. Her wall is at an angle, and this makes for a tricky installation. We will have the carpenter move the closet over a bit, and place a spacer, so the last door can open better. Apparently it was in the original plans, but was not translated to the worker correctly...ahhh, yet again. We did not do a huge closet in Olivia's room to allow for more flexibility with the space. Things change, and the girls now want to sleep in the same room, so this might become a playroom and additional guest space.
That leaves Sianna's closet. Pretty big, and built in shelves will proved a lot of storage space. Both her's and Olivia's closets will be painted white, and the exposed shelves are in a wood tone. Then I will go back and try to do a mural at some point for each of them...depending on where they decide to sleep and how the rooms work out. Probably best to wait a bit to see if they even like sleeping in the same room. Or if I like it. They are chatty Kathies...

I found some hand painted handles, and could not decide on which ones I liked the best. So, I took a bunch of each design and will mix them up in each of the rooms.


doors in progress

The interior doors are in!!! Wooohooo! Frames have gone in and the doors were all placed, but taken off for the time being, since a lot of work is still going on. But, the wood flooring guy came right over and finished up the baseboards for the entire house. Last step in that is going out to find the wood strips that will be in place between the tile floor and the wood, and in the doorways.
Alex and I ran to the hardware shop and picked out some sturdy door handles. We opted for all metal mechanisms as opposed to plastic. My thought was that he lives with 3 females...the slamming of doors is to be expected. The sturdier the better.
This last shot is of one of the doors while it was being set. They really don't have those 2 lines...I think those were a bar of some sort.


countertops!!!


The counter tops have arrived, and boy do they show the dust! But, once the construction is done and they are cleaned properly, we think they will look great. They actually compliment the window frames and shutters, something we had not even considered, and seem to tie the whole thing together.

Next to the island, we have had a kitchen table made with two benches. White legs and tops that are the same as the counter tops. The table is really great as it has a leaf that can easily be pulled out for additional seating. I think we will be able to move it in and out the front door for when we are entertaining outside. So we are getting there slowly. Now we need the carpenter to finish any bit around the kitchen so the tile guy can get in there and do the back splash. Time to order the hood for the range...and a dish washer!!!

Monday, March 21, 2011

Wood floors!!!

After more delays then I can count, our electricity was finally changed from a 1 to a 3---don't ask me about the specifics of this. All I know is that the underfloor heating requires a higher energy draw, so while we had power before, it has to be change to start up the heating system. This took a week or so, since some one in some office somewhere had to take there time to put a rubber stamp on some paper before the guys could actually go turn it over. At a 650 euro service fee, I would think they could be a bit faster...but hey, at least there was not a strike. So, that got changed over and the heating guys finished the last bits and turned it on, with a few days of testing, all was warm and tested OK. That gave the OK for the flooring guys to go in and start the clean up and laying down of the wood floors. Above is a shot from Olivia's room and out towards the stairs. Below is the master bedroom.
Now you see the loft space, that was done first. They actually finished all of the work in a record two days! The carpenter will come in and put in all the doors today and tomorrow, then they will be able to do the baseboard for the rest of the rooms. You can see that the baseboard is already up in the loft, since there is no door involved.
Below is a shot from the stairwell looking towards Olivia's room. Maybe the next time a photo is taken her walls will be lavender. Alex met with the painter today, he claims that the walls are not really yellowish, that that is the under coat showing through. But, Alex pressed him to mix the color to match the ceiling more. I am a bit apprehensive. I have colours chosen, and I really want a test patch before I give an OK for a final coat. Let us see what happens.
Posted by Picasa

Monday, February 28, 2011

Sianna's choice-pink.

When we were faced with the decision of paint vs. colored plaster for the downstairs bath, we opted for the colored plaster. Reasons were that it is one of the only recognizably old spaces in left in the house and we wanted to retain the character of the room (formerly the kitchen). But, the main reason was that since there is an actual well underneath this space, and only a small window for ventilation, we know there will be some humidity issues. Paint will only flake and look crappy after time, but the colored plaster will have "character and charm" by being kind of "shabby chic" as it ages.
Our plaster guy, who I am not so happy with... the outside of the house is neither the color I like or holding up after all the rains, told us the color range was yellows to reds....being that brick is used as the coloring agent. We decided to let Sianna in on the decision making process, so you should not be so surprised that it is pink. But, it is a traditional old village color, and the depth changes pretty well.Some walls appear a little darker, which adds a nice affect.
Of course the light is terrible in the room, since there is none. So we shall see in the end how it really looks. Now we are just waiting for the plumber to come and install the faucets to the back wall, then the finishing plaster, and then the counter top and sink. I will leave that as a surprise.
Posted by Picasa

Acceptance and the chimney.

Here we have the fireplace which is NOT IN THE CORNER...yes, I am still a bit pissed off about that (and other things). The workers came in and made a frame, and insulated it very well, with some kind of a product that is not supposed to smell...apparently this is a problem when creating a chimney after the fact. One has to ask the question, why was the chimney not part of the plan from the very beginning? Well, we are in Greece, so go with it.
Like a good friend of mine recently pointed out, acceptance is one the hardest things to achieve in life, but once you do you will not be carrying such a heavy load. I really gotta dump some of my load and just accept that this house will end up being what it ends up being. The control freak in me has a hard time with this idea,but if I look at it in the realm of art I can almost get there. When throwing a pot on the wheel, often I would let whatever shape emerge organically from the clay. Perhaps the house is more like that, something that just has to be left alone to be what it will be. Difference is, I have to live in this!
Posted by Picasa

Thursday, January 27, 2011

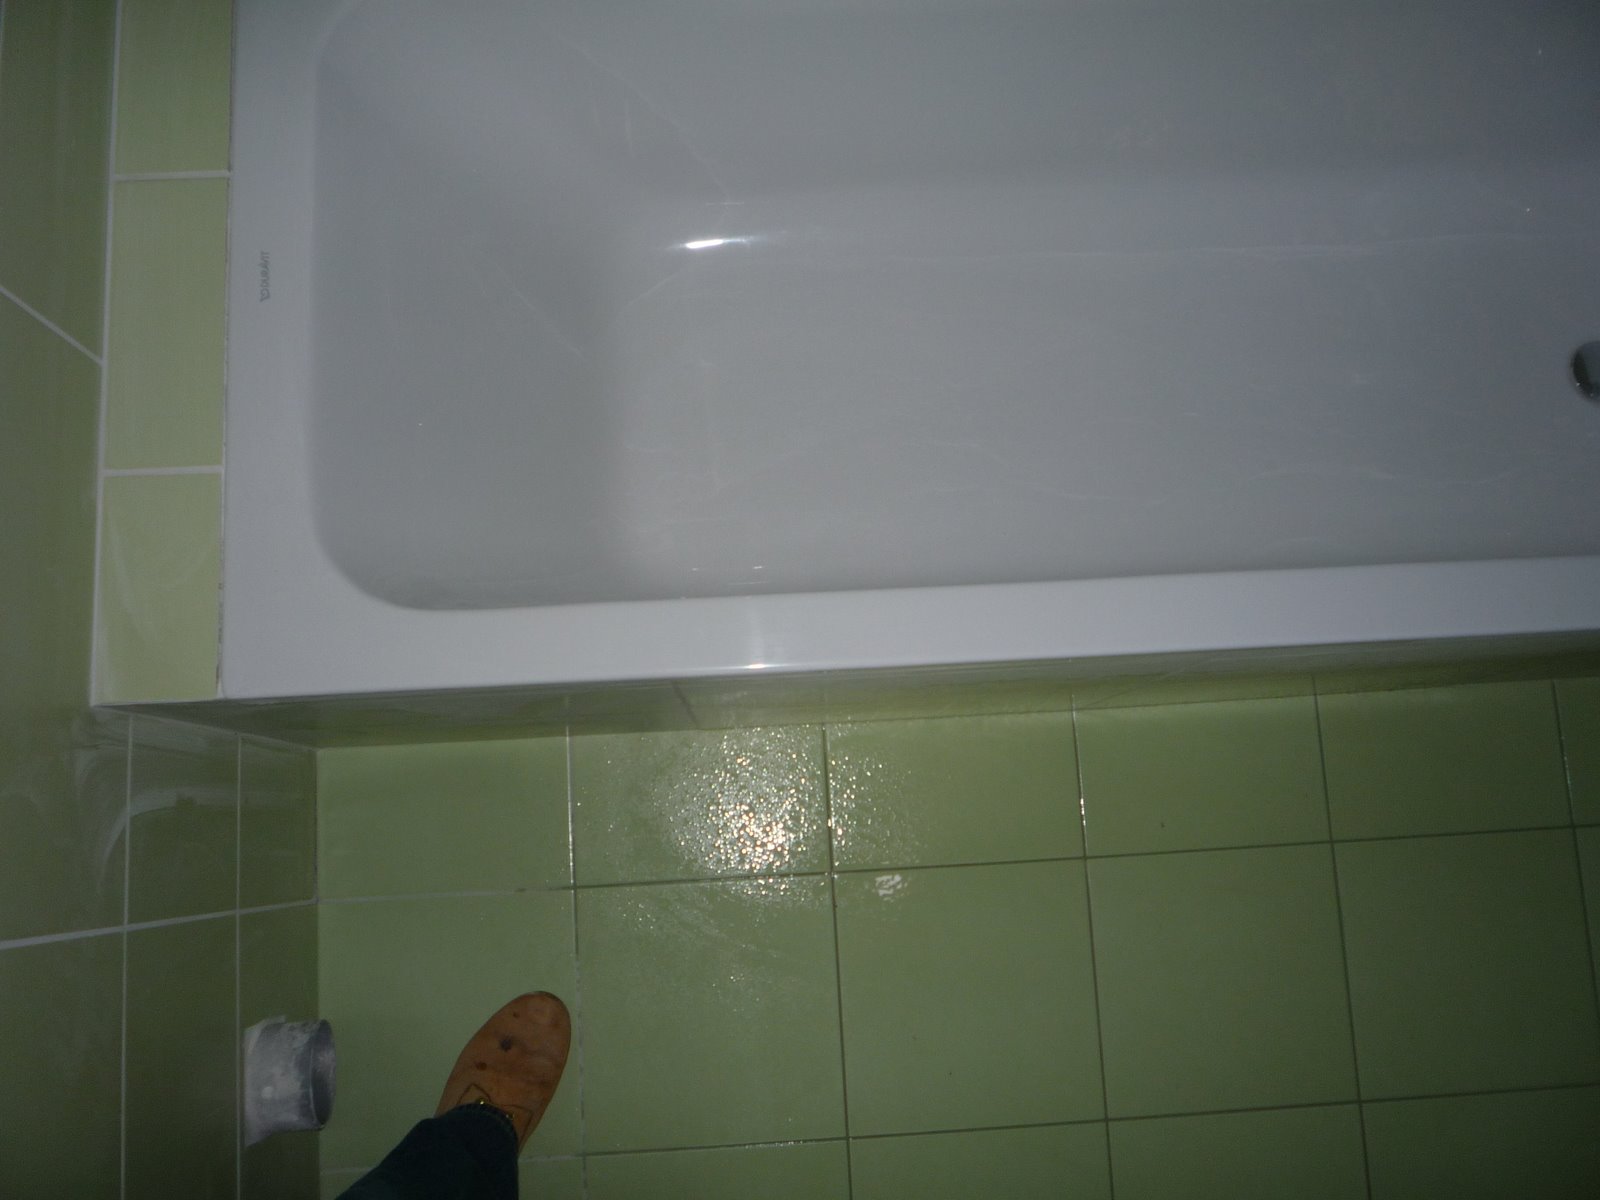
The Girls' Bath-finished off tile work.

While we wait for more things that are taking MONTHS, rather then the quoted 1 month to arrive, some other work is getting done. The extra tiles that we needed for the girls tub finally came in, and the tile guy came back and finished the space off. He did a great job, and the lip of the tub is perfectly flush with the front tiled wall, so it has a great clean edge to it. If you can not tell, I really like our tile guy. He is a bit of an artist, and the only thing that saddens me, is that we were not able to get some really funky tiles (do to cost, or availability) to let him really show off his talent. But, his work clearly speaks for itself. He is a total professional, timely and efficient. If I walk away cussing about every other worker involved in this project, I will only have good things to say about him and his crew.
They will soon start cleaning off more of the old tiles we saved from the original house and we will use them for the small courtyard that is in between the guest room and the side door. At about 15 euro a square meter, it is a great price for the work too. Now, we are collecting quotes for installation of the wood floor upstairs and were quoted 15 euro a square meter by our carpenter. Well, this is a click system wood floor. Not like tiling at all! Alex and I though, maybe we would do it ourselves and use that money to buy some cool tools for the job, allowing us to do other work later on, say on the barn space... But, as luck would have it, Alex has now caught Olivia's cold, and doubts we would get the floor installed before we want to move in (say March). So, we found another guy, 10 euro a square meter, but will have to wait until we get the heating system up and running for a few days to insure all the moisture is out of the cement. This is great, as we will be able to see if there are any problems before the wood goes in. But, as with everything, the area where the heat pump needs to be installed is waiting to be insulated and sealed. Let it sit and cure for a day( praying for no rain) and then the heat pump will go in, get running and 3 days later the wood floors will start to be installed. give or take a few delays and screw up...


Posted by Picasa

Kitchen in progress

Here it is, the kitchen in progress. The counter tops are not done yet, but we are going with a butcher block. Would have loved a solid surface, but with all our "hidden" costs, we are being more conservative...in the hopes of getting that SMEG 5 burner range. Below is the island/bar.
This is the pantry, with pull out shelving, it sits next to the fridge.
There is the view from the opposite side of the room, you can tell that the island is not in exactly the place it will be in, but you get the idea. The back splash is a tile that has an old mediteranean look to it, and the pulls are oil rubbed bronze. Well, at least we think they will be. Manos will hopefully get them from Restoration Hardware before he leaves to see us later this month. Stay tuned.
Posted by Picasa

Deliveries??

When it happens, it all happens at once! We were really lucky, in this case procrastination worked to our benefit and we found some great wood flooring at a reasonable price--wait for it--LOCALLY!

But, and there is always a but, we now are on the hunt for the "special" liner that we need to place on the floor before installing the wood. It has to be specific for the underfloor heating. Prices are varying from 2 euro to 8 euro. I think I will let Alex tell you more about that, whenever he gets a chance.
Above you see the delivery van in the totally walled in driveway....any bets on how much I ding the car up? Oh, I say --- quite a bit. Below you see the view of the kitchen cabinets and wood from on the stairs to the loft.


So here it all is, waiting in the main room. I think the dust that shows in the shots tell you just how dirty it is in the place.


Posted by Picasa

Tuesday, January 25, 2011

New Facade

Alex will be writing this entry, and Jenn's comments will be in purple.

WOW! That's a whole lotta...brown! (Huh?)

Like my better half pointed out, with the new exterior wall up and plastered we are now the owners of a huge brown block! (No, I said Orange. Now, I see the problem we have been having, you are apparently color blind.)

One thought was to make the wall in a different color in order to break up the space and to create a more playful village like structure. The other thought was to use the same colors and materials in order to make one cohesive unit, and to draw together the house/wall/entrance-way.

The Architect then went into long discourse as to why they need to be one unit and how a pergola will tie it all together to create a blah, blah, blah...

In the end he convinced me, and the work had already been done, so we went with it. I think the fact that it was already done is really the point here. When we began discussing the wall, or as I like to call it- the great wall of Sternes- our beloved architect made a quick rendering on the equivalent of a napkin to let me know the foot print of it. Did he mention the height? NO.


I actually think the wall and the entrance doesn't look so bad from the inside courtyard, and since this is the view we will be seeing more often, why not? I personally like to be able to see a little out onto the street, to wave at passing neighbors. Ask Sianna, it is too tall.

Here the workers made a wall separating our yard from our neighbor's. There was an existing wall here but it wasn't as tall, so that the neighbors could peak into the back yard, or so that our neighbors mom could come over and yell at them through our yard (yes, this DID happen, I witnessed it first hand!). Obviously we needed some kind of barrier here to stop that, and I am sure our neighbors are happy that the mom has been blocked. But, had I been more informed, I would not have redone this section at all, and used greenery, a vine to separate the space. So much concrete.

Does this make us anti-social, not sure? Do I care, hmmm.........


This is the view from the other neighbor's yard (the MOM). The large balcony window looks into the bedroom. Note to self: get curtains ASAP. So they can't see in, and so I can't see out...I don't know which is uglier, her corrugated roof on her shed, or ours on the barn space...
Posted by Picasa